How I Created a Cat Adoption App Using React
Connect with Cats and Find the Perfect Feline Friend - A Step-by-Step Tutorial for Developing a Cat Adoption App.


In this blog, we will walk you through the process of creating a cat adoption app using React. The app will allow users to browse and search for adoptable cats in their area. We will use the Cat API to fetch cat data and display it in our app.
🔗 Website: https://cat-available-near-me.vercel.app/
📁 GitHub: https://github.com/shivamanibrt/Cat-available-near-me
Prerequisites
To follow along with this tutorial, you should have a basic understanding of React and JavaScript. You should also have Node.js and npm (Node Package Manager) installed on your machine.
Setting up the Project
Let's start by setting up a new React project. Open your terminal and run the following command:
npx create-react-app cat-adoption-app
This command will create a new directory called cat-adoption-app and set up a new React project inside it.
Next, navigate to the project directory:
cd cat-adoption-app
Project Structure
Before we start writing code, let's take a look at the project structure:
cssCopy code├── src/
│   ├── Components/
│   │   ├── Home.js
│   │   ├── SearchPage.js
│   │   ├── About.js
│   │   ├── CatCard.js
│   │   └── Layout.js
│   ├── ApiHandler/
│   │   └── fetchHelper.js
│   ├── App.js
│   ├── index.js
│   └── App.css
└── package.json
We have created a few components under the Components directory. The Home component displays a list of cats available for adoption. The SearchPage component allows users to search for cats by country. The About component provides information about the cat collection. The CatCard component is used to render individual cat cards. Finally, the Layout component defines the overall layout of our app.
The API handler logic is implemented in the fetchHelper.js file under the ApiHandler directory.
App Component
Let's start by working on the main App component. Open the src/App.js file and replace its contents with the following code:
import React from "react";
import { Home } from "./Components/Home";
import { SearchPage } from "./Components/SearchPage";
import { About } from "./Components/About";
import { Route, Routes } from "react-router-dom";
import Layout from "./layout/Layout";
import './App.css';

function App() {
  return (
    <div className="wrapper">
      <Layout>
        <Routes>
          <Route path="/" element={<Home />} />
          <Route path="search" element={<SearchPage />} />
          <Route path="about" element={<About />} />
        </Routes>
      </Layout>
    </div>
  );
}

export default App;
In this code, we import the necessary components and set up routes for the home, search, and about pages using the react-router-dom library. The Layout component is used to define the overall layout of our app. The Routes and Route components handle the routing logic.
Home Component
Next, let's work on the Home component. Create a new file called Home.js under the src/Components directory and add the following code:
import React, { useEffect, useState } from 'react';
import { adoptableCats } from '../ApiHandler/fetchHelper';
import { CatCard } from './CatCard';
import { Col, Container, Row } from 'react-bootstrap';
export const Home = () => {
const [cats, setCats] = useState([]);
useEffect(() => {
fetchCats();
}, []);
const fetchCats = async () => {
const data = await adoptableCats();
setCats(data);
};
return (
<Container className="bg-black rounded shadow-lg p-5 text-light text-center mt-4 mb-4">
<div>
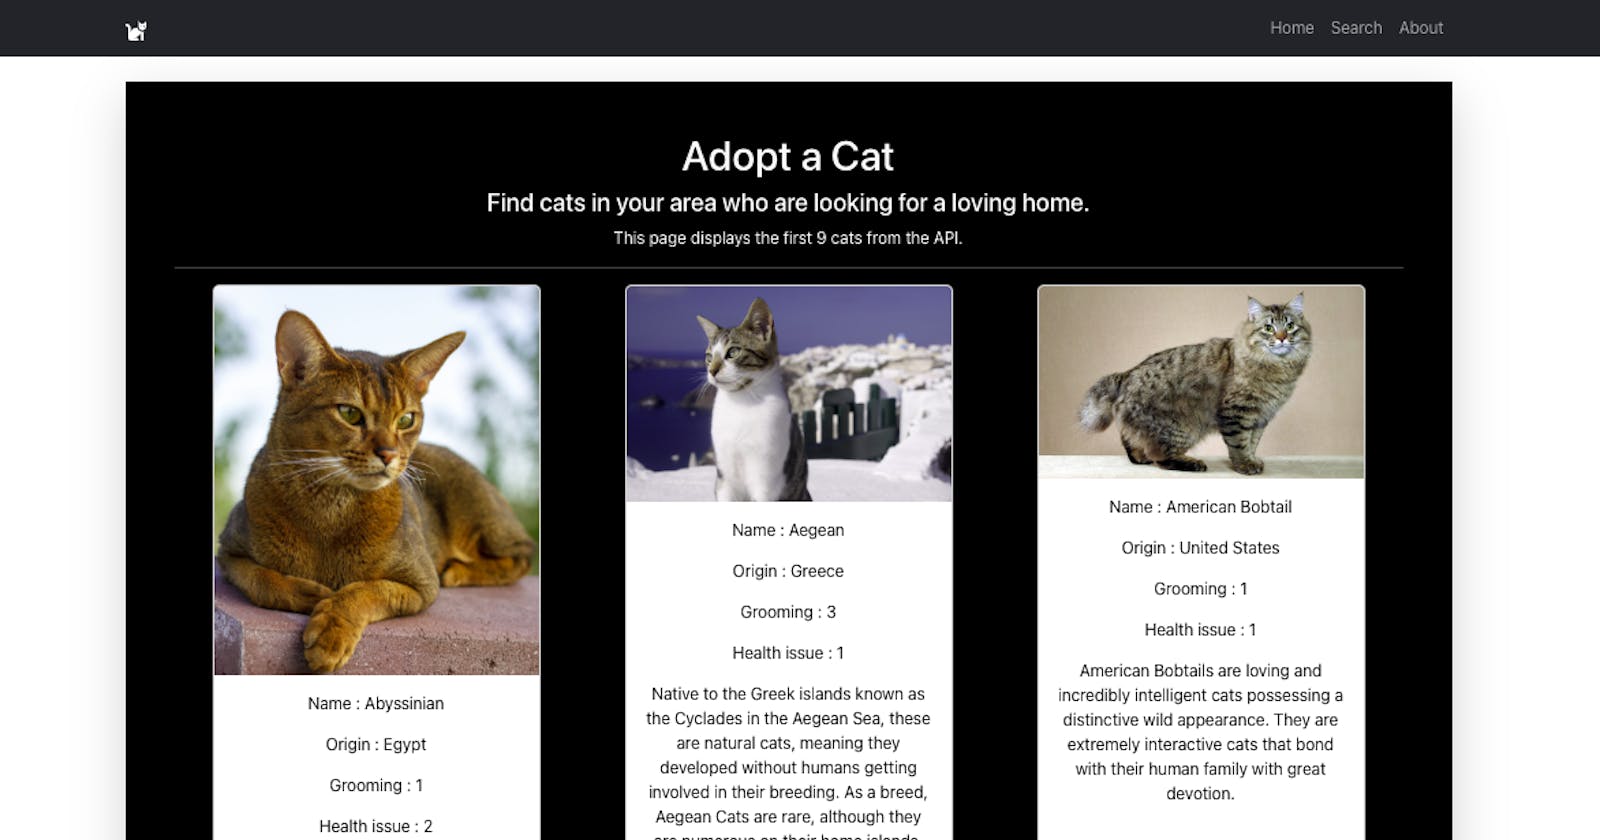
<h1>Adopt a Cat</h1>
<h4>Find cats in your area who are looking for a loving home.</h4>
<p>This page displays the first 9 cats from the API.</p>
<hr />
</div>
<Row>
<Col className="d-flex gap-2 flex-wrap justify-content-around">
{cats.slice(0, 9).map((cat) => (
<CatCard key={cat.id} cat={cat} />
))}
</Col>
</Row>
</Container>
);
};
In this code, we import the necessary dependencies and define the Home component. The component uses the useState and useEffect hooks to manage the state and fetch the cat data when the component mounts.
The fetchCats function uses the adoptableCats function from the fetchHelper.js file to fetch the adoptable cat data from the API. The fetched data is stored in the cats state using the setCats function.
The component renders a container with a title and description. It also renders a row of cat cards using the CatCard component. We pass each cat as a prop to the CatCard component.
CatCard Component
Next, let's create the CatCard component. Create a new file called CatCard.js under the src/Components directory and add the following code:
import React from 'react';
import Card from 'react-bootstrap/Card';

export const CatCard = ({ cat }) => {
  return (
    <Card style={{ width: "20rem", color: "black" }}>
      <Card.Img variant="top" src={cat?.image?.url} />
      <Card.Body>
        <Card.Text>Name: {cat?.name}</Card.Text>
        <Card.Text>Origin: {cat?.origin}</Card.Text>
        <Card.Text>Grooming: {cat?.grooming}</Card.Text>
        <Card.Text>Health issue: {cat?.health_issues}</Card.Text>
        <Card.Text>{cat?.description}</Card.Text>
      </Card.Body>
    </Card>
  );
};
In this code, we define the CatCard component, which renders a Bootstrap Card component for each cat. We pass the cat data as a prop to the component and display the relevant information inside the card.
SearchPage Component
Let's move on to the SearchPage component. Create a new file called SearchPage.js under the src/Components directory and add the following code:
import React, { useEffect, useState } from 'react';
import { Col, Form, Row } from 'react-bootstrap';
import { adoptableCats } from '../ApiHandler/fetchHelper';
import { CatCard } from './CatCard';

export const SearchPage = () => {
  const [cats, setCats] = useState([]);
  const [country, setCountry] = useState('');

  useEffect(() => {
    fetchCats();
  }, []);

  const fetchCats = async () => {
    const data = await adoptableCats();
    setCats(data);
  };

  const handleOnChange = (e) => {
    const { value } = e.target;
    setCountry(value);
  };

  const getUniqueCountryCodes = () => {
    const countryCodes = new Set();
    cats.forEach((cat) => {
      countryCodes.add(cat.origin);
    });
    return Array.from(countryCodes);
  };

  const countryCodeArg = getUniqueCountryCodes();

  return (
    <div className="bg-black p-5 rounded shadow-lg p-4 text-light text-center mt-4 mb-4">
      <Form className='wrapper'>
        <div>
          <h1>Search cats nearby</h1>
          <hr />
        </div>
        <Row>
          <Form.Select onChange={handleOnChange}>
            <option value="">Select by country</option>
            {countryCodeArg.map((itm) => (
              <option key={itm} value={itm}>
                {itm}
              </option>
            ))}
          </Form.Select>
          <h4 className='mt-4'>
            There are {cats.filter((cat) => cat?.origin === country).length} cats available in {country}
          </h4>
        </Row>
        <Col className="d-flex gap-2 flex-wrap justify-content-around mt-5">
          {cats
            .filter((cat) => cat?.origin === country)
            .map((cat) => (
              <CatCard key={cat.id} cat={cat} />
            ))}
        </Col>
      </Form>
    </div>
  );
};
In this code, we import the necessary dependencies and define the SearchPage component. The component uses the useState and useEffect hooks to manage the state and fetch the cat data when the component mounts.
The fetchCats function uses the adoptableCats function from the fetchHelper.js file to fetch the adoptable cat data from the API. The fetched data is stored in the cats state using the setCats function.
The component renders a form with a select input to choose a country. When the select input value changes, the handleOnChange function updates the country state accordingly.
The getUniqueCountryCodes function extracts unique country codes from the cat data and returns an array of country codes. We use this array to populate the options of the select input.
The component also renders the number of cats available in the selected country and a list of cat cards filtered by the selected country.
About Component
Lastly, let's create the About component. Create a new file called About.js under the src/Components directory and add the following code:
import React from 'react';
import { Col, Container, Row, Image } from 'react-bootstrap';
import catsImg from '../Assets/catsSpeeling.jpg';
import '.././App.css';

export const About = () => {
  return (
    <Container>
      <Row className="bg-dark rounded shadow-lg p-5 text-light mt-4 mb-4">
        <Col md={6}>
          <Image src={catsImg} roundedCircle fluid className="cat-image" />
        </Col>
        <Col md={6}>
          <h2 className="text-center">About Our Cat Collection</h2>
          <p>
            Welcome to our cat collection! We are passionate about cats and dedicated to providing you with the most
            adorable and fascinating cats from around the world. Our collection features a wide variety of breeds and cat
            images that will surely bring a smile to your face.
          </p>
          <p>
            We believe that cats bring joy and happiness to people's lives, and our mission is to share that joy with you.
            Whether you're a cat lover or simply appreciate the beauty and grace of these majestic creatures, we hope you
            enjoy browsing through our collection.
          </p>
        </Col>
      </Row>
    </Container>
  );
};
In this code, we define the About component, which renders a container with an image and a description of the cat collection. The image is imported from the catsSpeeling.jpg file, which should be stored in the src/Assets directory.
Layout Component
Finally, let's create the Layout component. Create a new file called Layout.js under the src/layout directory and add the following code:
import React from 'react';
import { Container, Nav, Navbar } from 'react-bootstrap';
import { Link } from 'react-router-dom';

const Layout = ({ children }) => {
  return (
    <Container>
      <Navbar bg="dark" variant="dark">
        <Container>
          <Navbar.Brand as={Link} to="/">
            Cat Adoption
          </Navbar.Brand>
          <Nav className="me-auto">
            <Nav.Link as={Link} to="/">
              Home
            </Nav.Link>
            <Nav.Link as={Link} to="/search">
              Search
            </Nav.Link>
            <Nav.Link as={Link} to="/about">
              About
            </Nav.Link>
          </Nav>
        </Container>
      </Navbar>
      <div>{children}</div>
    </Container>
  );
};

export default Layout;
In this code, we define the Layout component, which includes a navigation bar with links to the home, search, and about pages. The component receives the children components as props and renders them inside the div element.
App.css
Lastly, let's add some basic styling to our app. Open the src/App.css file and add the following code:
.wrapper {
    min-height: 78vh;
}
.cat-image {
    width: 500px;
    height: 500px;
}
This CSS file provides basic styling for our app, including background colors, text colors, and spacing which was imported from Bootstrap react and react-bootstrap react directly.
Conclusion
Congratulations! You have created a cat adoption app using React. The app allows users to browse and search for adoptable cats in their area. You have learned how to set up a React project, create components, fetch data from an API, handle routing, and apply basic styling.
Feel free to enhance the app further by adding more features, such as pagination, filtering, or additional information about each cat. Happy coding!